.png)
How to Film the Northern Lights in Iceland
As you embark on the mesmerizing journey of capturing the Northern Lights in Iceland, begin by immersing yourself in meticulous planning. Research the ideal months for this celestial display, focusing on late September through early April, with the pinnacle of activity around midnight. Keep a vigilant eye on both weather forecasts and aurora forecasts, ensuring you choose a night with clear, cloudless skies.
When it comes to equipment, your camera is your trusted companion. Opt for a DSLR or mirrorless camera with exceptional low-light capabilities and a high ISO range. Complement it with a fast, wide-angle lens boasting an aperture of f/2.8 or wider. Stability is paramount, so employ a robust tripod to eliminate any potential shake during those long-exposure shots. A remote shutter release or intervalometer becomes invaluable, enabling you to capture shots without jarring the camera.
As you venture into the night, be armed with ample spare batteries and memory cards. Iceland's cold temperatures can swiftly drain batteries, and the last thing you want is to be caught without power.
Step 1: Planning and Preparation
Research the best times to view and film the Northern Lights in Iceland. Optimal months are from September to April, with peak activity around midnight. Regularly check weather forecasts and aurora forecasts - clear, cloudless skies are essential for a successful shoot. Select shooting locations away from light pollution. Popular spots include Thingvellir National Park, Gullfoss Waterfall, and the Snafellsnes Peninsula.
Step 2: Essential Gear and Equipment
Choose a camera with excellent low-light performance and high ISO capabilities - full-frame DSLRs or mirrorless cameras are recommended. Opt for a fast wide-angle lens with a large aperture (f/2.8 or wider). Use a stable tripod to eliminate camera shake during long-exposure shots. A remote shutter release or intervalometer allows you to take shots without physically touching the camera. Cold temperatures can drain battery life quickly, so carry fully charged spares and ample memory cards.
Step 3: Camera Settings
Switch your camera to manual mode. Start with an ISO setting between 800 and 1600 - adjust higher if needed, but be cautious of noise. Set your lens to its widest aperture to allow maximum light to reach the sensor. Experiment with shutter speeds between 10 and 30 seconds; avoid exposures longer than 30 seconds to prevent star trailing. Switch to manual focus and set it to infinity, fine-tuning if necessary by focusing on a distant object during daylight hours.
Step 4: Shooting Techniques
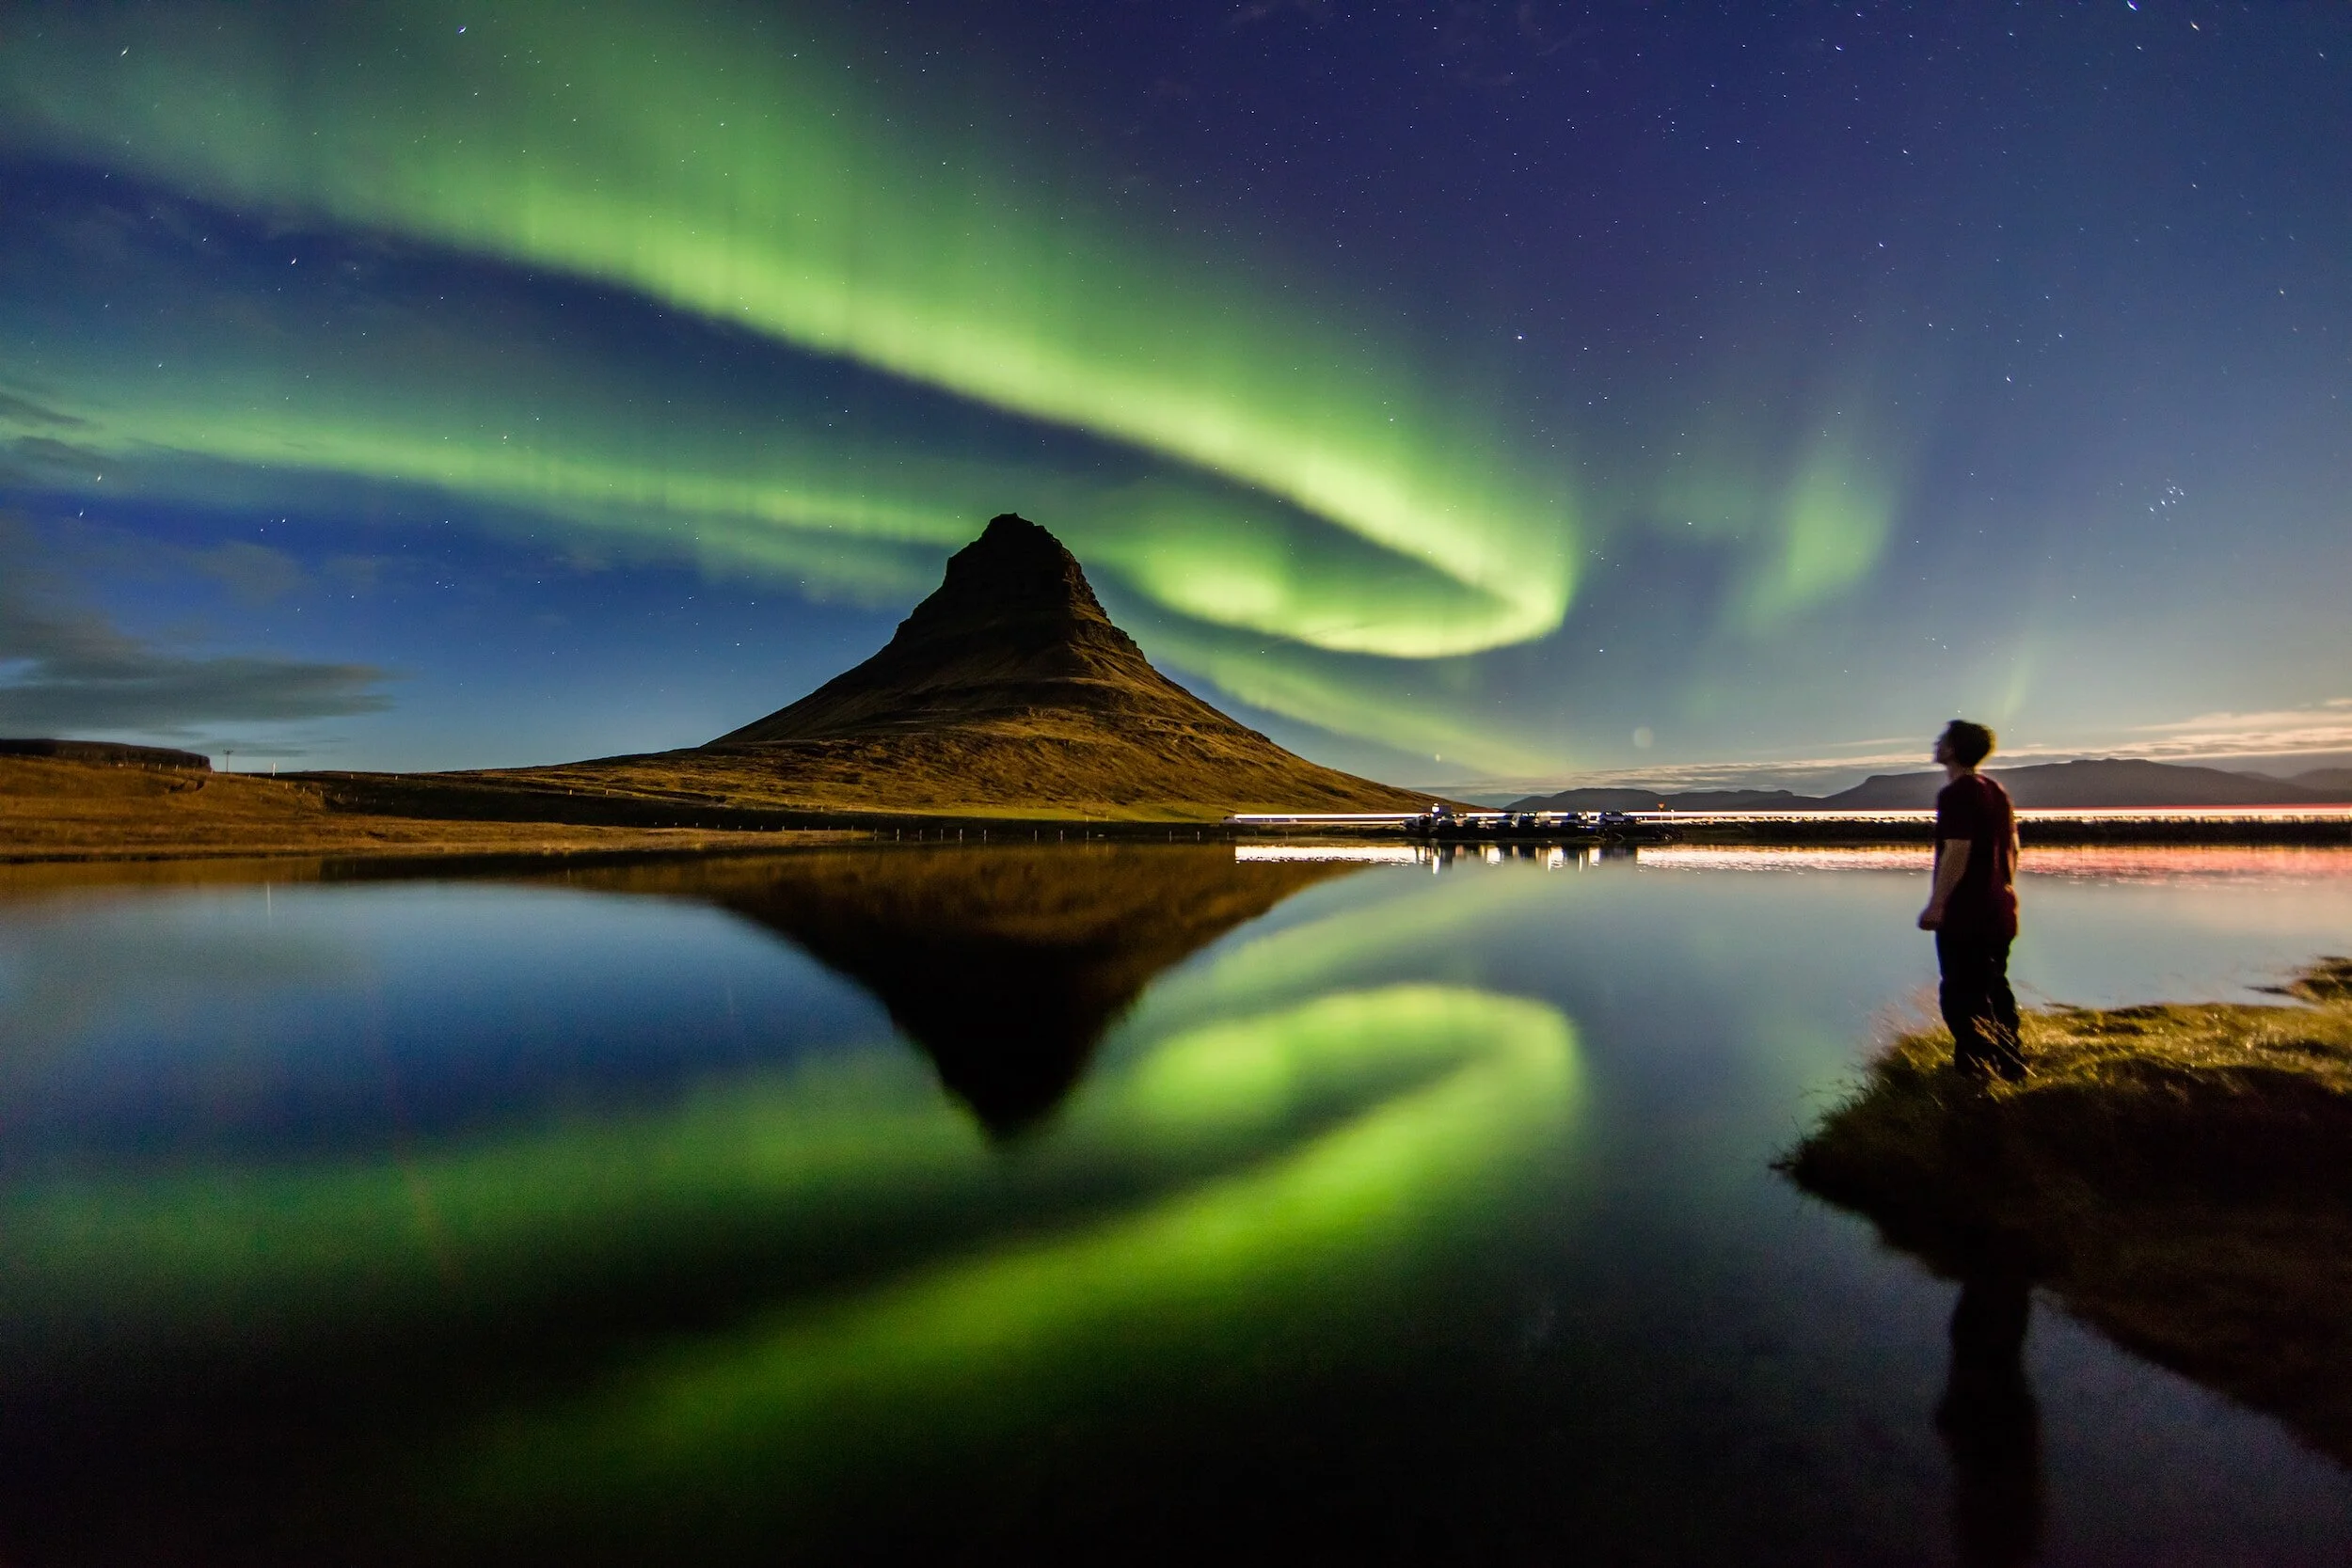
Consider the landscape elements that will complement your Northern Lights shots. Interesting foregrounds such as mountains, lakes, or ice formations add depth and context to your footage. The Northern Lights can be unpredictable - be patient and observe the sky for changes in intensity, shape, and colour.
Step 5: Filming Etiquette
Follow Leave No Trace principles and any specific regulations in your chosen shooting location. Avoid using bright lights that can disrupt the natural night sky and the experience of others.
Step 6: Post-Production
Use video editing software to fine-tune your footage. Adjust exposure, contrast, and colour balance to enhance the vibrant colours of the Northern Lights. While post-processing is essential, be cautious not to over-edit, as it may lead to unnatural-looking results.